
You can make a print like this and use the fabrics for pretty much anything. As i say - im using mine to make cushions, and i have made my makeup cases before!
You will need.
Fabric [always remember to pre wash and dry!]
Textile printing ink [i get mine from London Graphic Center or make my own colours at uni]
Lino
A pen
Lino cutting handle and blades
Double sided foam backs
a bench wedge block thing
A ironing board or soemthing equally flat-but-kinda-squishy
An old tea towel
An iron
These may seem like big investments but it will keep you going for ages :)
HOW TO:
MAKING THE STAMPS
Draw onto your lino block the thing that you want to print. Mine was a button line drawing, so i did an enlarged button line drawing!
Use the lino cutter to carefully [go slow or you will cut yourself and seriously it hurts!!] carve out all the lino which has no pen on it.
Cut around the shape! Repeat as many times as required to make as many stamps as required :)
PRINTING
Pre wash your fabric, dry it, and iron it flat. Lay your tea towel down on your ironing board (some ink may go through the fabric and you dont want to ruin your ironing board). Lay your fabric on top.
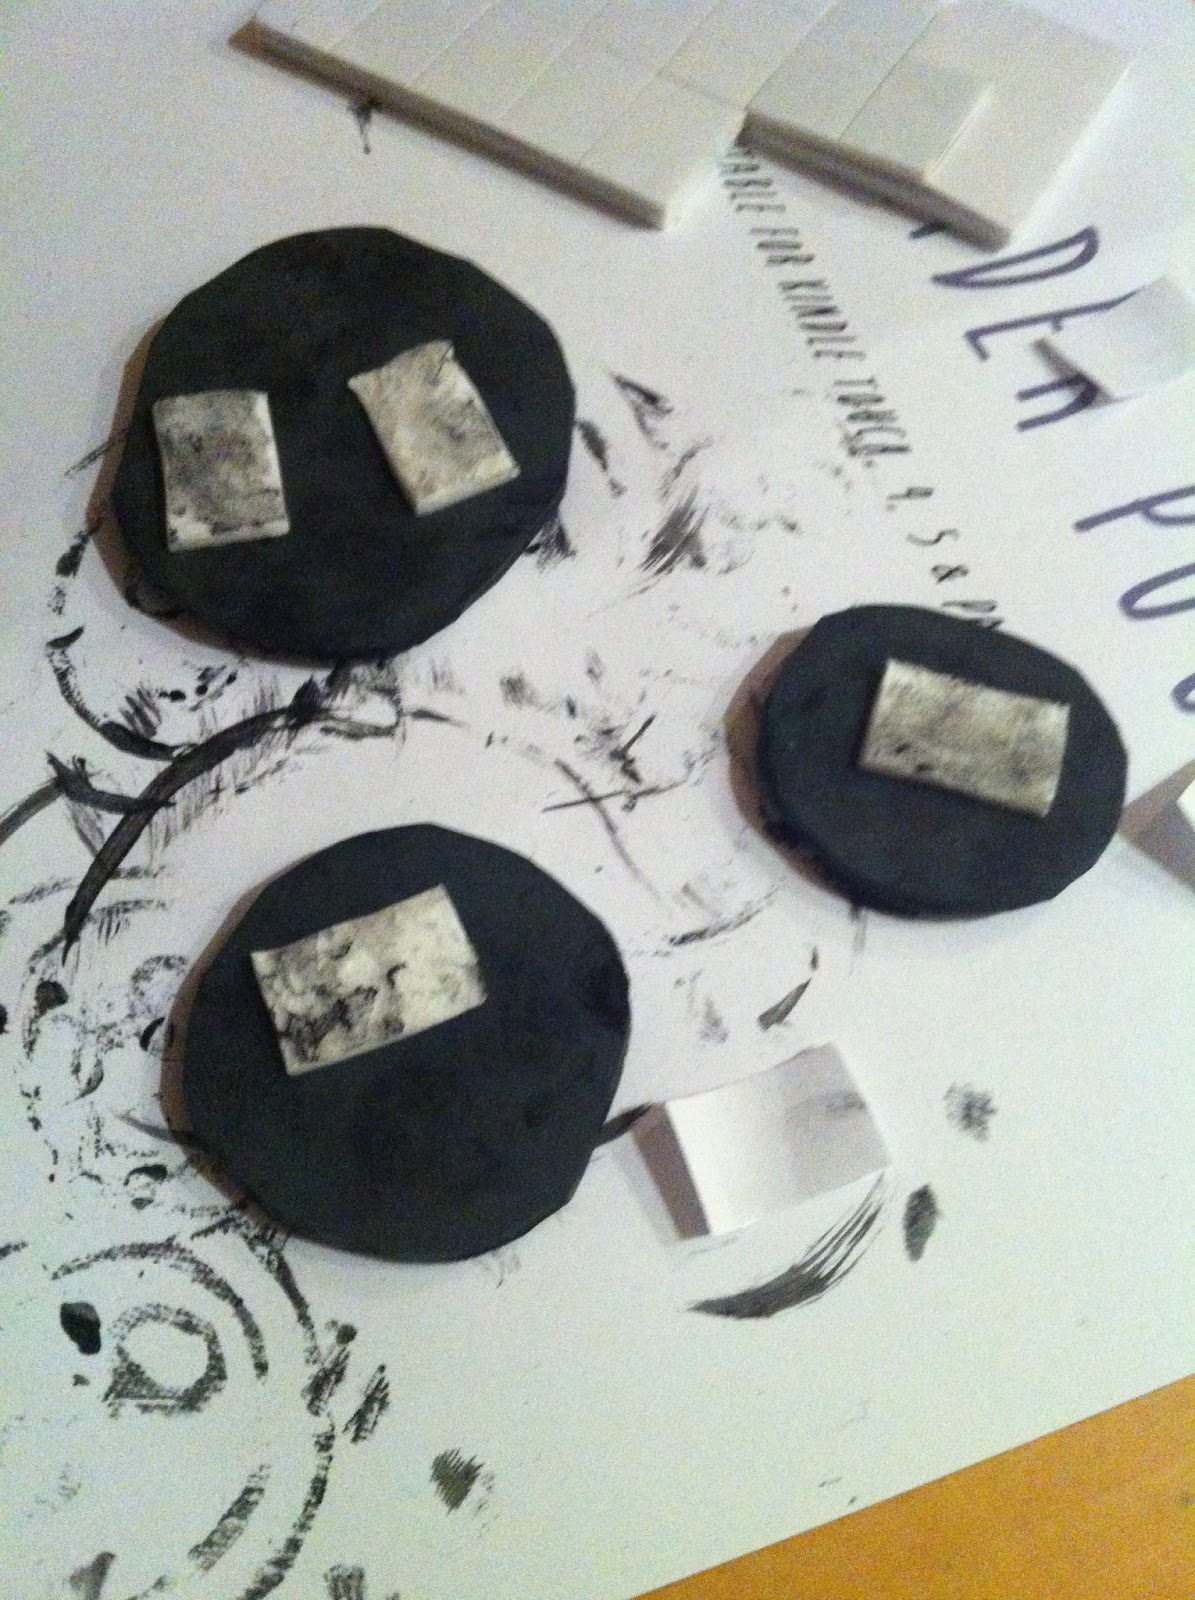
Take your stamps and put two double sided foam backs on the back.
Have your ink ready, with a paintbrush.
Find a comfortable position, and stick your fingers to the foam pads on the back of one of your stamps. This will take some re-arranging and many near-cramp-spasms to find the right position!!
Roughly paint the ink onto the stamp. make sure you have covered all areas and you dont have too much ink in any little dips in the design, otherwise when you press down, the ink will be everywhere and you wont see any detail!
Stamp stamp stamp away! I suggest if you are making a design like mine, where you have three designed randomly scattered, you fill in the whole piece of fabric with one stamp, then move on to the next, rather than peeling your fingers away from the stamp to re-attach to the next two minutes later etc.
The hand-printed effect is really nice, unpredictable, rough round the edges and this is why i chose to do it this way! If you are doing a scattered effect, remember to turn your hand otherwise the print will look strange with all your things the same way up :)
Here are some photographs so you can see what i mean!
 |
| The buttons after printing onto paper! Just use a makeup wipe to clean them up :) |
 |
| The stamp stuck to my hand :P See what i mean about printing the whole fabric with one stamp before moving onto the next. This is not noticable in the final print. also you can see how messy it looks, but it really is not! you will also need to use your other hand to stamp down. |
 |
| Stuck to my hand! Dont knock it!! |
 |
| Adorable. Saw these in the V&A last week. This set includes a little roller and everything! |
 |
| The finished prints are drying :) |
Make sure you iron your prints once they are completely dry. this heat sets the ink and then you can craft away!
No comments:
Post a Comment